 No Duties or Customs Fees For EU & UK Customers
 Express Tracked UK Delivery On 1000s of Items
 90 Day Returns

How to Break in Hiking Boots: Step-by-Step Guide
RYNew boots and a big trail day rarely mix well. Stiff leather rubs against your heel, seams press into places you didn't know existed, and by mile three you're limping instead of hiking. Learning how to break in hiking boots properly before your first proper walk saves you from blisters, hot spots, and a ruined trip. It takes a bit of patience, but it's far cheaper than replacing a good pair too soon.
If you want a clear answer, here it is: you wear them gradually, indoors first, then on short walks, building up distance and terrain difficulty over one to two weeks. There's no shortcut that works reliably, whatever quick fixes you might read online. Gradual conditioning lets the leather or synthetic upper flex around your foot shape while your skin toughens up in the right spots.
This guide walks you through the whole process step by step, from checking fit at home to your first real trail outing. We'll cover sock choice, lacing adjustments, how long each stage should take, and the warning signs that mean a boot simply isn't right for your foot, no matter how much you break it in.
Why breaking in hiking boots matters
Most hiking boots are built stiffer than trainers on purpose. That stiffness protects your ankles on uneven ground and supports your foot over long distances, but it also means the materials need time to soften and mould to your foot shape. Leather uppers stretch slightly with wear, foam midsoles compress into your foot's natural contours, and stitching around the heel and tongue relaxes so it stops digging in. Skip this process and you're asking rigid materials to do in one day what they'd normally do over a couple of weeks.
Rushing straight from the shop to a ten-mile trail is how most blisters happen. Friction builds where the boot hasn't yet adapted to your foot, usually at the heel, the little toe, or across the top of the foot where laces sit. A hotspot that goes unnoticed for an hour can turn into a blister by mile five, and a blister on day one of a multi-day hike can wreck the whole trip. Breaking boots in properly means your skin also gets a chance to toughen up gradually, rather than being shredded in one go.
Give your boots time to soften before you give your feet no choice but to suffer.
There's a financial angle too. Returns policies rarely cover boots that have been worn outdoors, so testing fit and comfort indoors first protects your purchase. At MoreSports we offer 90-day returns on unused items precisely because getting the fit right matters, but that window only helps if you catch problems before you've committed to a full day on rough terrain. A short indoor trial costs you nothing and can save you from a return, an exchange, or a very uncomfortable weekend away.
Step 1. Wear your boots around the house
Start your break-in indoors, before your boots ever touch a pavement or a trail. Wear them for an hour or two while you do normal chores around the house, ideally with the socks you plan to hike in. This gives you a controlled setting to check fit and comfort without any risk of ruining the boots for a return if something's wrong. Walk up and down stairs, stand for a while, and pay attention to how your heel moves inside the boot with every step.
If a boot hurts on your kitchen floor, it will hurt far more on a rocky trail.
Check the fit while you can still return them
Use this stage to catch problems early, while a return or exchange is still simple. Look out for:
- Heel lift of more than a few millimetres with each step
- Toes brushing the front of the boot on stairs
- Tight spots across the top of the foot from lacing
- Pressure on the ball of the foot or arch
Adjust your lacing technique if you spot any of these, tightening around the ankle and loosening slightly over the instep often solves early discomfort before it becomes a habit you fight for weeks.
Step 2. Take them on short walks with hiking socks
Once your boots feel fine around the house, move outdoors for short walks of 20 to 30 minutes on pavement or flat local paths. Wear the actual hiking socks you'll use on the trail, not thin cotton ones, since sock thickness changes how the boot fits around your foot. This stage introduces real ground contact and slight temperature and moisture changes that a kitchen floor never will.
Walk somewhere familiar, ideally close to home, so you can turn back easily if something starts rubbing. Pay attention to how the boot behaves after 15 minutes rather than just the first five, since some pressure points only appear once the material has warmed up and flexed a bit.
A short walk that reveals a problem now beats a long hike that reveals it ten miles from the car.
Repeat these short walks for three to four days, wearing the same socks each time so your feet and the boots adjust together. If you notice any redness or tenderness afterwards, note exactly where it appears. That detail matters for the next stage, when you start covering more ground.
Step 3. Build up distance and add a loaded pack
Once short walks feel comfortable, stretch your outings to 45 minutes or an hour on varied terrain, mixing pavement with gravel paths or a local park trail. Longer sessions put the boot through more flex cycles, which is exactly what softens stiff areas around the ankle collar and forefoot. Aim for this stage over three or four outings before you think about a full day out.
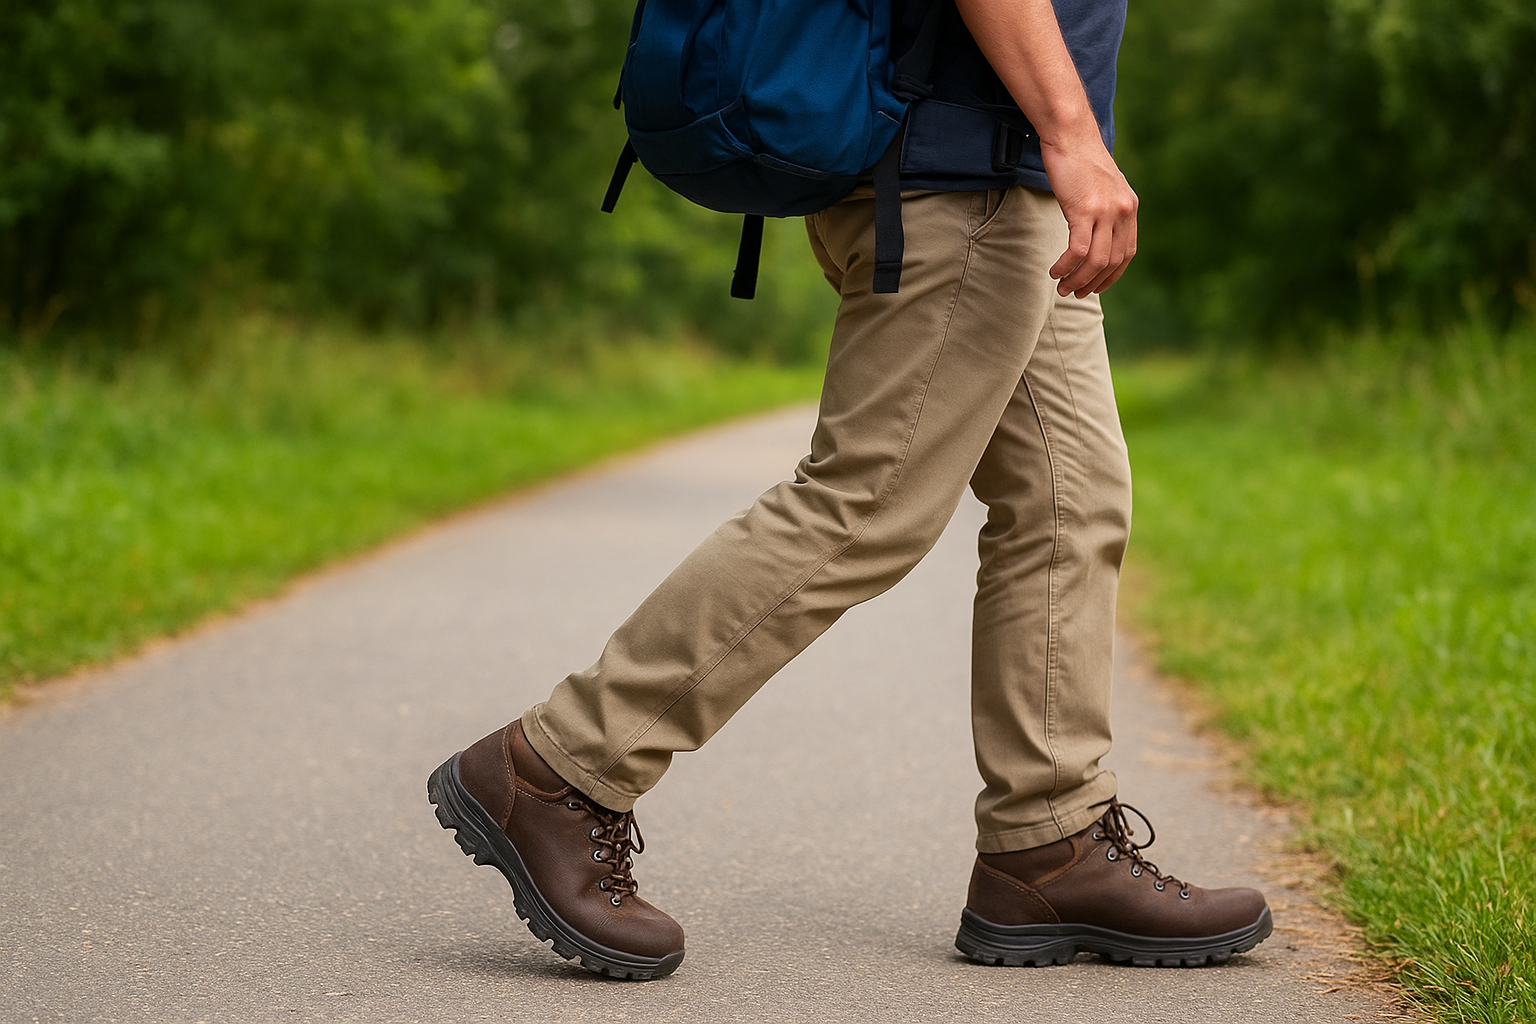
Add weight gradually
Grab a daypack and load it with a few kilos, books work fine, then wear it on your next couple of walks. A loaded pack changes how your foot sits inside the boot, pressing your heel down and forward slightly, so it's worth testing before a real trip.
- Start with 3 to 5kg for the first loaded walk
- Increase to your expected pack weight over the following sessions
- Keep walks under an hour until the extra weight feels normal
Your boots need to learn your hiking weight, not just your bodyweight.
Vary the ground too, tackle a slope or uneven path if one's nearby, since flat pavement alone won't prepare the sole for real trail conditions.
Step 4. Tackle hotspots and know when they're ready
Feel a warm patch or slight rub during any walk and stop straight away. Hotspots turn into blisters within minutes if you keep walking, so treat them the moment you notice them rather than pushing on to finish the route.
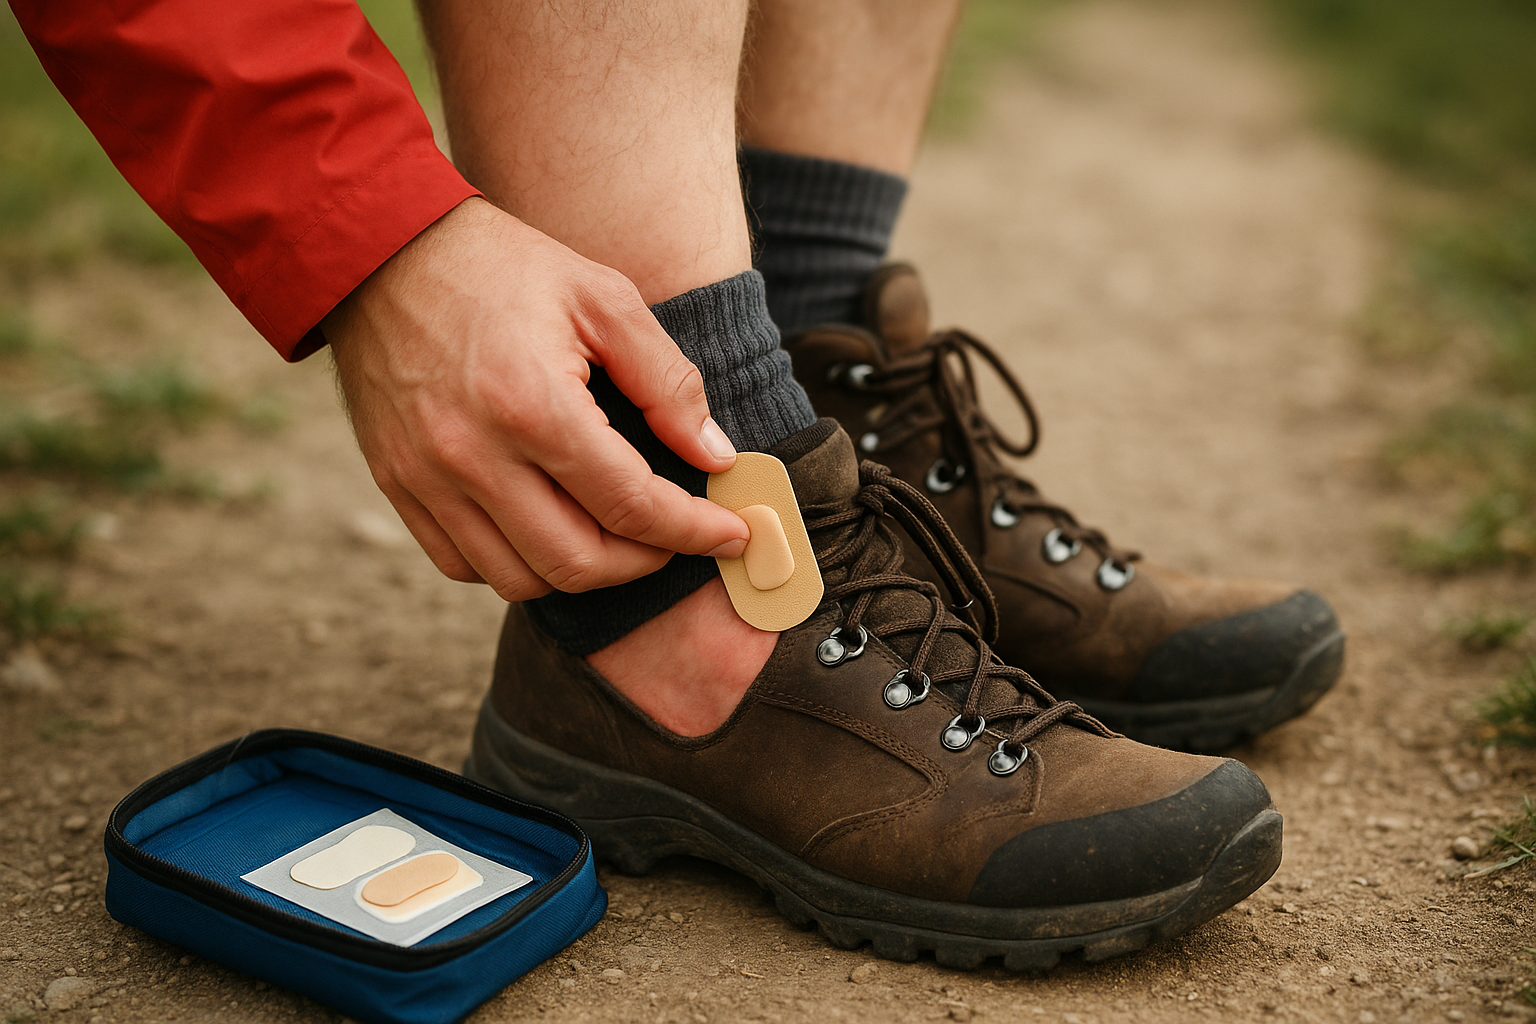
Treating hotspots early
Carry a small kit on every break-in walk:
- Blister plasters or moleskin
- A spare pair of thin liner socks
- Basic lacing know-how to relieve pressure over the spot
Apply a plaster before the skin breaks, adjust the lacing over that area, and keep walking gently to see if the pressure eases.
Treat the hotspot in minute five, not the blister in mile five.
Signs your boots are ready
Once you've completed several walks without fresh hotspots appearing in the same place twice, your boots are settling in properly. Genuine readiness looks like this: no heel lift, no rubbing after an hour on mixed terrain, and no lingering soreness the next morning. If the same spot keeps flaring up after four or five outings, that's a fit issue no amount of breaking in will fix, and it's worth revisiting the size or style instead.
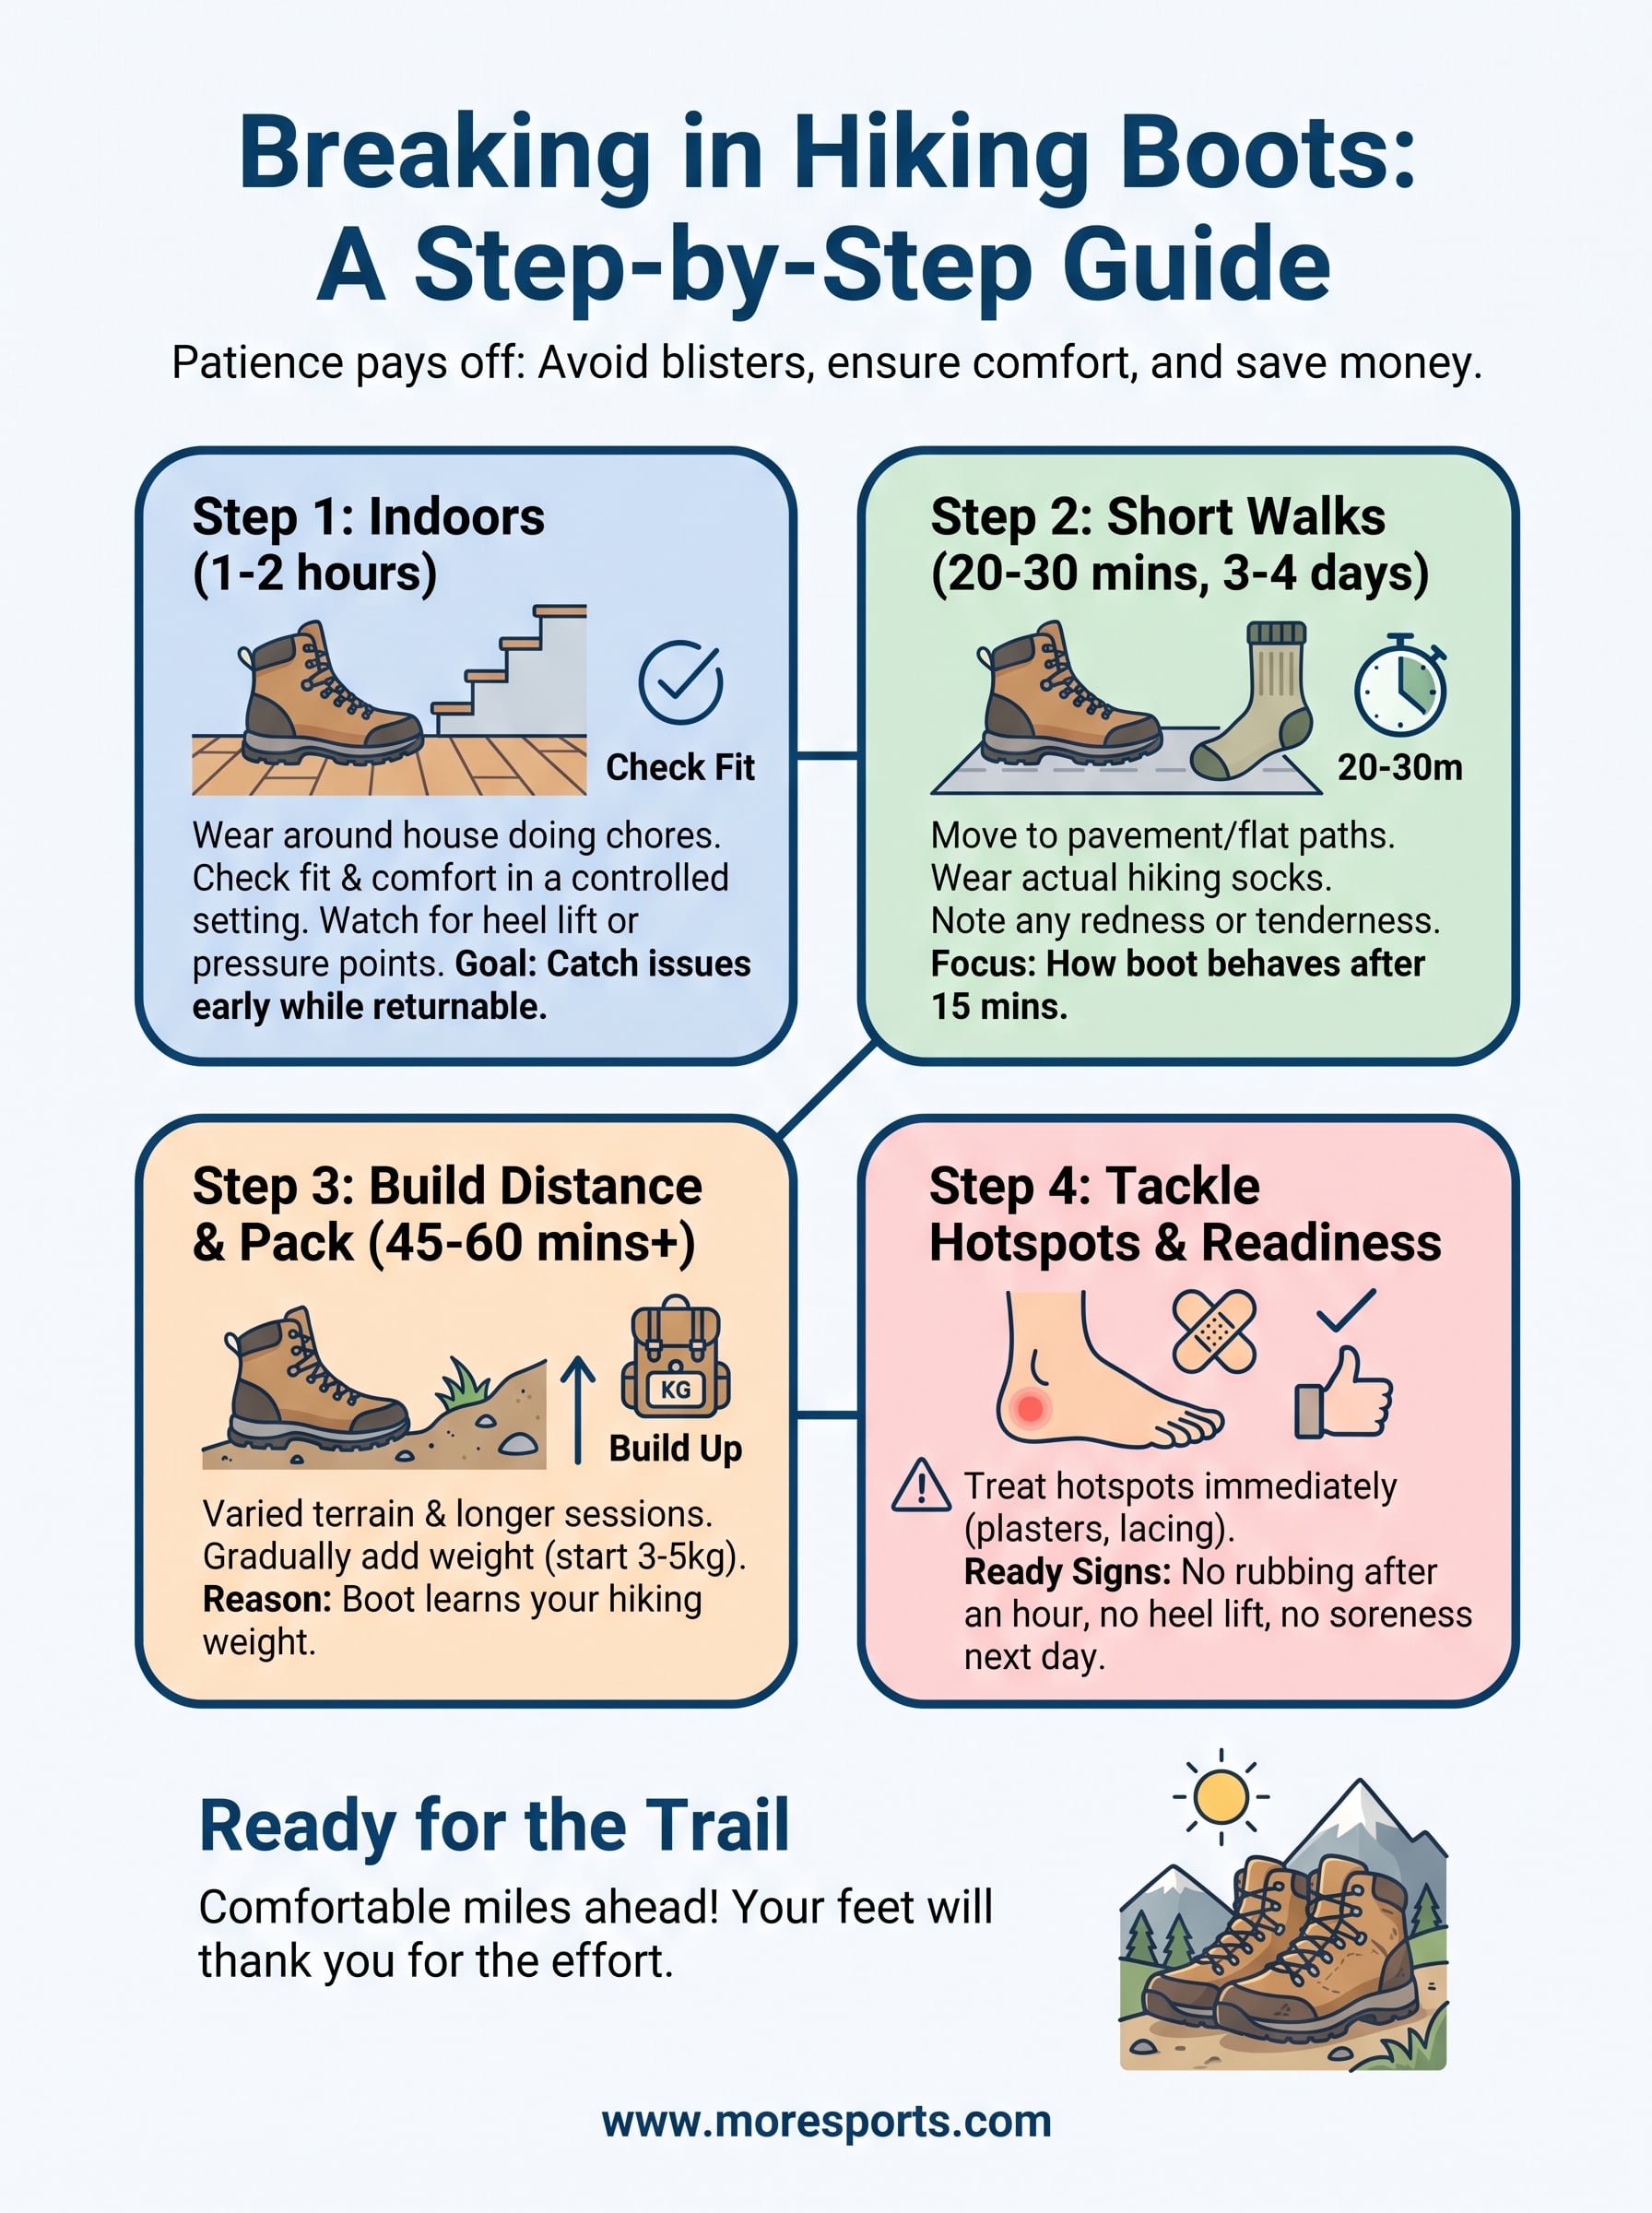
Ready for the trail
Getting from a stiff new pair to trail-ready boots takes patience, not luck. Follow the stages in order, indoor wear, short walks, longer sessions with a loaded pack, and quick action on hotspots, and your boots will mould to your feet rather than fight them. Rushing the process is the single biggest cause of ruined hikes and wasted money on boots that never quite fit.
Your feet will thank you for the extra week or two of effort once you're miles into a proper trail without a single blister to slow you down. That's the whole point of breaking boots in properly: comfortable miles, not painful ones.
If you're still shopping for the right pair, or need socks, insoles, or blister kit to get through the break-in stage, browse the full hiking range at MoreSports and get kitted out properly before your next walk.