 Free UK Delivery On Orders Over £25
 90 Day Returns
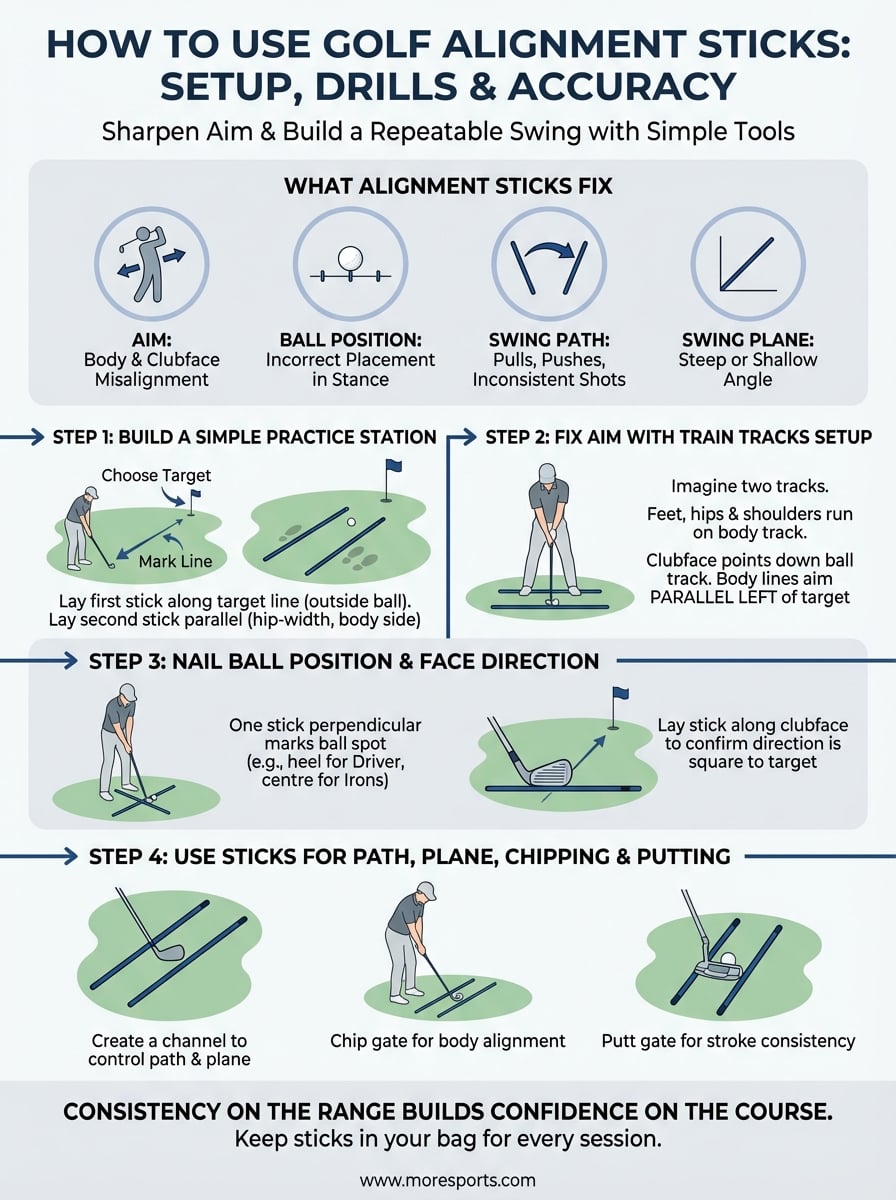
How To Use Golf Alignment Sticks: Setup, Drills & Accuracy
RYYou've probably seen them poking out of every tour player's bag on the practice range. Yet most club golfers either ignore alignment sticks entirely or lay them down without much thought. Knowing how to use golf alignment sticks properly is one of the simplest ways to sharpen your aim and build a repeatable swing, no swing coach required.
Poor alignment is one of those quiet problems. It doesn't announce itself the way a slice does, but it quietly undermines everything else you're working on. A stick on the ground costs almost nothing, yet it gives you instant visual feedback on where your body and clubface are actually pointing versus where you think they are. That feedback loop is where real improvement starts.
This guide breaks down exactly how to set up your alignment sticks, walks you through proven drills for accuracy and swing plane, and shows you how to get the most out of every practice session. At MoreSports, we stock a wide range of golf training aids and equipment from top brands, so once you've nailed these fundamentals, you'll find everything you need to keep progressing.
What alignment sticks fix and what you need first
Most golfers blame their swing when shots go wrong, but poor alignment is the root cause of a surprising number of bad results. When your feet, hips, and shoulders point even slightly off target, your brain compensates by redirecting the swing mid-motion to try and get the ball back online. The outcome is inconsistent contact, errant ball flight, and a practice session that reinforces bad habits rather than correcting them. You can spend months working on your takeaway or your hip turn and still see zero improvement on the course if your setup is pointing you five yards left of where you intend to aim.
Fixing your alignment first means every other swing change you make will actually transfer to the course, rather than getting filtered out by a misaligned setup.
The problems alignment sticks solve
Alignment sticks give you a fixed, physical reference your body can measure itself against at every practice session. Without that reference, you are essentially guessing at your setup each time, and your aim can drift by several degrees from one shot to the next without you noticing. Understanding how to use golf alignment sticks properly means you can address four core problems that affect golfers at every handicap level:
- Aim: your clubface and body pointing somewhere other than the actual target, which is far more common than most golfers realise
- Ball position: placing the ball too far forward or back in your stance, which changes your angle of attack and strike quality
- Swing path: moving through the ball on a line that is too far left or right, producing pulls, pushes, and inconsistent shot shapes
- Swing plane: the club travelling on an angle that is either too steep or too shallow through impact, affecting both ball flight and contact
Each of these problems has a specific stick placement that makes the fault visible and correctable, which is exactly what the drills later in this guide cover.
What you need before you start
You do not need expensive equipment to practise effectively with alignment sticks. Two standard fibreglass poles, around 120 to 125 cm long, are all you need for every setup and drill in this guide. One stick handles your body line and ball position, while the second covers your target line or swing plane work. They sit flat on the turf without shifting and fit neatly inside any golf bag alongside your clubs.
Before heading to the range, make sure you have the following:
| Item | Details |
|---|---|
| Two alignment sticks | Fibreglass, approximately 120–125 cm long |
| A clear target | A specific flag, marker, or cone on the range to aim at |
| A tee for ball position | Pressed into the turf to mark a consistent spot |
| Open practice space | Enough room to take a full stance and swing freely |
That is the complete list. Pack both sticks in your bag permanently so they are available whenever you step onto the range and want to run through a quick drill before a round.
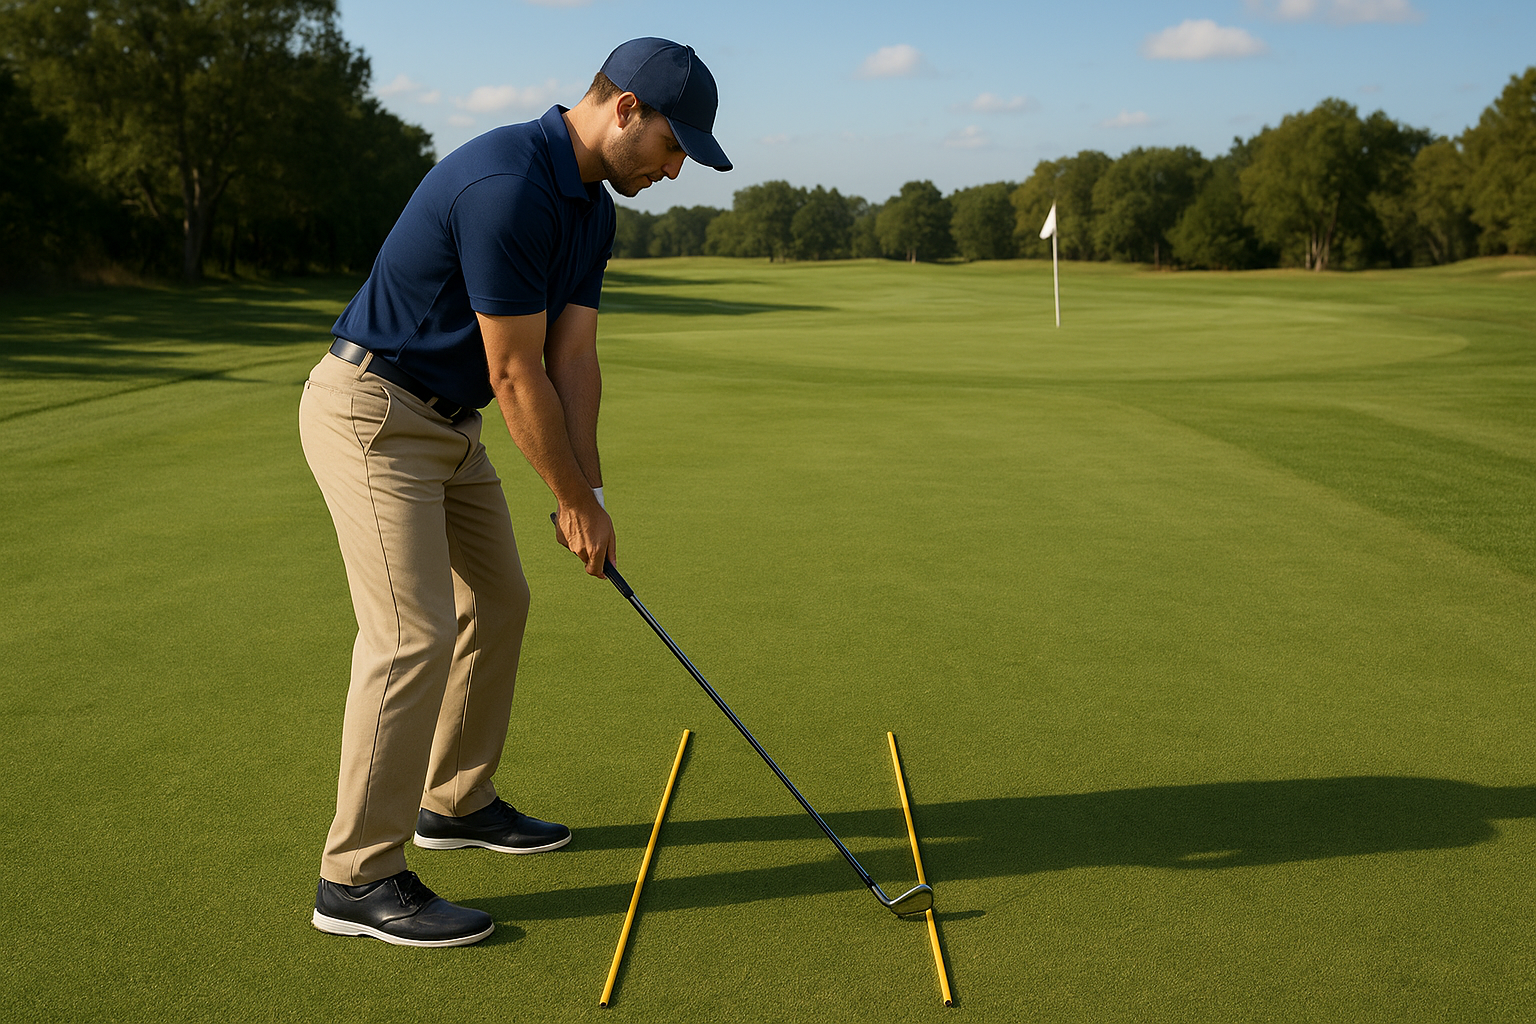
Step 1. Build a simple practice station
A reliable practice station takes under two minutes to build and gives you a consistent reference point for every shot you hit. Getting this foundation right means you can move through how to use golf alignment sticks for every drill in this guide without second-guessing your aim between shots.
Choose your spot and mark your target line
Before placing anything on the ground, pick a specific target on the range, not a vague direction but an actual flag or marker. Stand behind the ball, look down the target line, and find a spot on the turf about a foot in front of the ball that sits directly on that line. That intermediate spot becomes your anchor for placing the sticks accurately every single time.
Getting the target line right before you lay down either stick is the single most important step in the whole process.
How to lay the sticks down correctly
Place your first stick along the target line, running from just outside the ball towards your chosen target. This stick represents the ball-to-target line. Now lay the second stick parallel to the first, roughly hip-width away on the side closest to your feet. That foot-line stick tells your body exactly where to align.
Follow these steps each time you set up your station:
- Place the ball on the turf and stand directly behind it to confirm the target line
- Lay stick one just outside the ball, pointing straight at the target
- Lay stick two parallel to stick one, positioned level with your toes
- Step into your stance so your feet run parallel to the foot stick
- Check that your hips and shoulders match the same line before you swing
This setup forms the foundation for every drill covered in this guide, and you can rebuild it in under 60 seconds once you have practised it a few times.
Step 2. Fix your aim with the train tracks setup
The train tracks drill is the most effective use of two alignment sticks for fixing aim, and it builds directly on the practice station you set up in Step 1. Imagine two parallel railway tracks running from your feet towards the target: one track carries the ball, the other carries your body. Your job is to keep your feet, hips, and shoulders all running along the body-side track while the clubface points squarely down the ball-side track.
The train tracks setup makes it immediately obvious when your body is aimed at the target rather than parallel left of it, which is the most common alignment mistake at every level.
Why parallel left feels wrong at first
When you set up your sticks correctly and step into your stance, the body-line stick will appear to point slightly left of the flag. That is correct. Because you stand to the side of the ball, your body must aim parallel left of the target line for your clubface to point straight at it. Many golfers overcorrect by aligning their body directly at the flag, which actually pushes the clubface right of the intended target and sends shots offline. Trust what the sticks show you, not what feels natural in the early sessions.
Running the drill shot by shot
Knowing how to use golf alignment sticks effectively means repeating this process until parallel left becomes your default rather than something you consciously think about. Follow these steps on every shot within the drill:
- Lay both sticks parallel, with roughly hip-width between them
- Stand behind the ball and confirm the target line before stepping in
- Place your feet along the body-side stick with toes touching but not crossing it
- Check that your hips and shoulders match the same parallel line before gripping the club
- Hit five shots, then step behind the ball again and verify your aim has not drifted
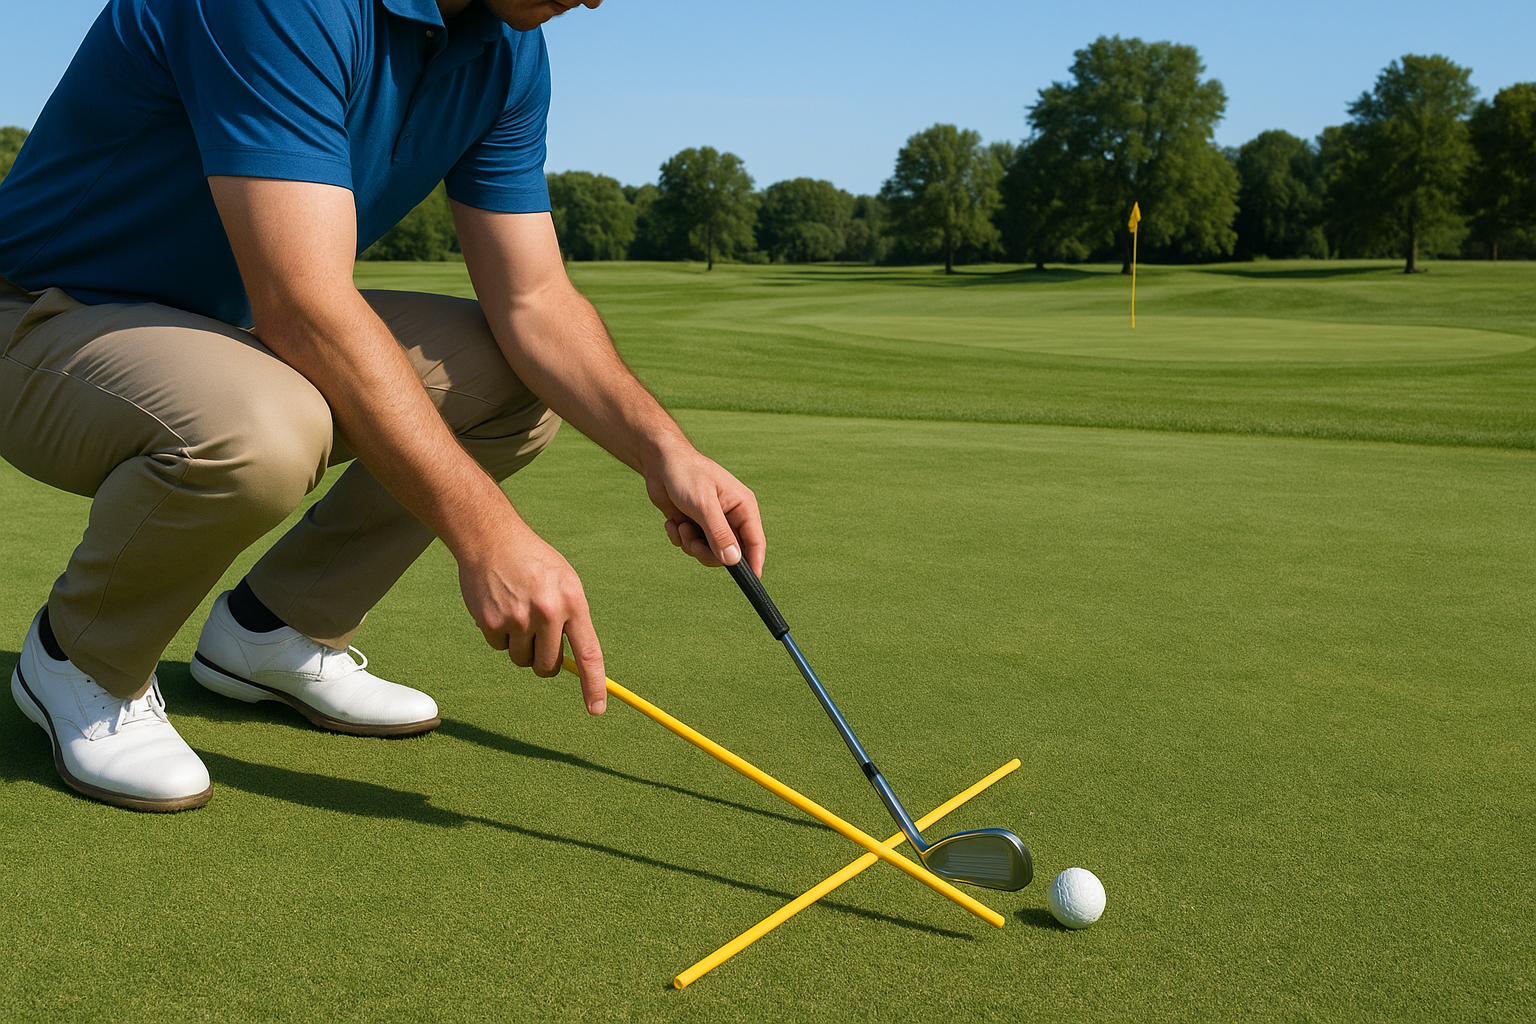
Step 3. Nail ball position and face direction
Ball position changes your angle of attack and directly affects both the quality of your strike and the height of your shot. Understanding how to use golf alignment sticks for this purpose gives you an objective reference that removes guesswork entirely, because even small shifts of an inch forward or backward in your stance can turn a clean iron strike into a thin or fat contact.
Set ball position with one stick
Lay one alignment stick perpendicular to your target line, pointing directly across your stance at the ball. This gives you a fixed marker that shows exactly where the ball sits relative to your lead heel, your sternum, and the centre of your stance. Different clubs require different positions, and keeping one stick as a perpendicular reference locks in the correct spot every time.
Use this table as your reference when practising:
| Club | Ball position |
|---|---|
| Driver | Opposite the inside of the lead heel |
| Fairway woods | One ball width back from the lead heel |
| Long irons (3–5) | Two ball widths back from the lead heel |
| Mid and short irons (6–PW) | Centre of stance or one width forward of centre |
One inch of ball position change can shift your dynamic loft by several degrees, which makes this one of the most impactful adjustments you can make without touching your swing.
Check your clubface direction
Once ball position is confirmed, lay the second stick flat along the face of your club at address. Stand directly behind the stick and look towards the target. If the stick points at your flag or marker, your face direction is correct. If it drifts left or right, adjust your grip and hand position until the face and the stick align, then build that hand position into every setup going forward.
Step 4. Use sticks for path, plane, chipping and putting
Knowing how to use golf alignment sticks extends well beyond full-swing aim work. You can apply the same simple tools to fix your swing path, check your plane angle, and bring consistency to your chipping and putting, making alignment sticks one of the most versatile pieces of kit you can carry to the range.
Control your swing path and plane
Place one stick on the ground along your target line, then lay the second stick roughly 30 cm outside the ball, angled to match the slope of your desired swing plane. When you swing, the club should travel between the two sticks on the way back and through impact without brushing either. If your club strikes the outer stick on the downswing, your path is moving too far from the inside out. If it catches the inner stick, the path is too steep or over the top.
A path drill using two sticks immediately shows you where your club is travelling, which is something no mirror or video replay can replicate in real time on the range.
Short game: chipping and putting
Lay one stick parallel to your chip target line about 20 cm outside the ball to check that your feet and shoulders are square at address. For putting, lay both sticks on either side of your putter head to form a narrow gate, then roll the ball through the gate on every stroke. Any deviation in your stroke will deflect the ball into one of the sticks before it reaches the hole.
Use this checklist each time you practise your short game with sticks:
- Chip gate: one stick outside the ball, one stick along the foot line
- Putt gate: sticks 2 to 3 cm wider than your putter head on both sides
- Confirm face direction is square before each stroke
- Roll ten consecutive putts through the gate without touching either stick
Next time you practise
You now have everything you need to put alignment sticks to work straight away. Start with the practice station from Step 1, confirm your parallel setup with the train tracks drill, and use the perpendicular stick to lock in the correct ball position for each club. Once those fundamentals feel automatic, bring in the path and plane drills, then finish every session with ten consecutive putts through the gate. That sequence covers the full range of what you learned about how to use golf alignment sticks, and it fits into any practice slot without eating up the whole session.
Consistency on the range builds confidence on the course, and alignment sticks make that consistency far easier to repeat. Keep both poles in your bag permanently so you never have to talk yourself out of using them. Browse the full range of golf training aids and equipment at MoreSports and pick up a pair before your next session.