 No Duties or Customs Fees For EU & UK Customers
 Express Tracked UK Delivery On 1000s of Items
 90 Day Returns

How To Hold A Dart Correctly For Accuracy And Consistency
RYYour grip is the only point of contact between you and your dart, and it has a bigger impact on your throw than most players realise. Learning how to hold a dart correctly is the single fastest way to improve your accuracy, yet it's something many beginners (and even intermediate players) never take the time to properly work on. A small adjustment in finger placement or pressure can transform your consistency at the oche.
The truth is, there's no single "perfect" grip. What works for Phil Taylor won't necessarily work for you. Your hand size, finger length, and dart barrel shape all play a role. That's why understanding the principles behind a good grip matters more than copying someone else's technique. The right grip should feel natural, give you control, and allow a clean, repeatable release every time.
In this guide, we break down the most common dart grips, from the simple two-finger hold to the four-finger grip favoured by many pros, with practical tips to help you find what works best. At MoreSports, we supply darts and accessories from top brands, and we know that having the right equipment only gets you so far; pairing it with proper technique is where real improvement happens.
What a correct dart grip actually means
A correct dart grip is not about holding the dart in one specific, rigid way. What matters is control and repeatability - you need to throw the dart the same way, time after time, with a release that doesn't introduce wobble or sideways drift. When most coaches and experienced players talk about how to hold a dart correctly, they mean a grip that gives you a stable platform during the throw and releases cleanly at the point of aim without fingers snagging the shaft or flight on the way through.
A grip that feels forced or tense will always break down under pressure - yours needs to be firm enough to control the dart, but relaxed enough to let it go smoothly.
The three qualities every good grip shares
No matter how many fingers you use or where you place them on the barrel, a good grip comes down to three things. Stability means the dart doesn't wobble or rotate unpredictably in your hand before you throw. Consistency means your fingers return to the exact same position on the barrel every single time you pick one up. A clean release means your fingers open and move away from the dart without dragging across the flight or the shaft during follow-through.
These three qualities apply whether you're throwing a lightweight 16g barrel or a heavier 26g steel-tip dart. If any one of them breaks down, your accuracy suffers. Stability comes from how many fingers you engage and how you distribute contact across the barrel. Consistency is built through repetition and muscle memory. A clean release comes from understanding how your fingers naturally extend during the throw and making sure nothing catches on the dart's tail end.
| Grip Quality | What It Means | How to Check It |
|---|---|---|
| Stability | Dart stays still in your hand at full draw | Hold it up and look for barrel roll or tipping |
| Consistency | Same finger placement on every throw | Use a small marker dot on the barrel to track your position |
| Clean release | Fingers leave the dart without catching | Watch the dart in flight for early wobble or deviation |
Why grip varies from player to player
Hand size and finger length directly affect which grip works best for you. A player with long, slender fingers may find a three-finger grip sits naturally with little effort, while someone with shorter fingers might need a four-finger grip to get enough coverage across a longer barrel. Neither is wrong. The barrel shape also plays a part - a smooth, straight barrel sits differently under your fingertips compared to a heavily knurled or ringed barrel that gives you more friction to work with.
Your dominant hand's natural resting position matters more than most players expect. Pick up a dart right now and let it rest without adjusting anything. Where your fingers land naturally is a strong starting point. Most players build their grip outward from that neutral position rather than forcing their hand into a shape they've seen someone else use. This approach produces a grip that feels less rehearsed and holds up far better across a full session at the board, when fatigue starts to creep into your arm and fingers.
Step 1. Place your fingers for control
Finger placement is where learning how to hold a dart correctly begins. Before you think about your stance, arm angle, or release point, you need to get your fingers in the right position on the barrel. Pick up your dart and rest the barrel between your thumb and index finger first - this is your foundation for every grip variation you'll try.
Two, three, or four fingers: which one suits you
Most beginners start with a three-finger grip, which uses the thumb, index finger, and middle finger. It offers a solid balance of control and a natural release path. A two-finger grip (thumb and index finger only) is lighter and faster but gives you less stability across the barrel. It works well if you throw with a shorter, sharper action. A four-finger grip adds the ring finger alongside the other three, distributing contact more evenly across a longer barrel and suiting players who prefer a heavier, more deliberate throw.
The number of fingers you use should depend on what gives you a stable, consistent platform, not on what your favourite player happens to do.
| Grip Type | Fingers Used | Best For |
|---|---|---|
| Two-finger | Thumb + index | Short barrels, fast throwing style |
| Three-finger | Thumb + index + middle | Most players, balanced control |
| Four-finger | Thumb + index + middle + ring | Long barrels, heavier deliberate throws |
Where each finger should actually sit
Your thumb carries most of the supporting weight and should sit underneath the barrel's centre of gravity, roughly at the widest or most textured section. Your index finger rests along the top or side of the barrel, acting as the main guide for direction. Any additional fingers you use should rest lightly along the barrel's length rather than gripping tightly around it - they are there for balance, not to squeeze.
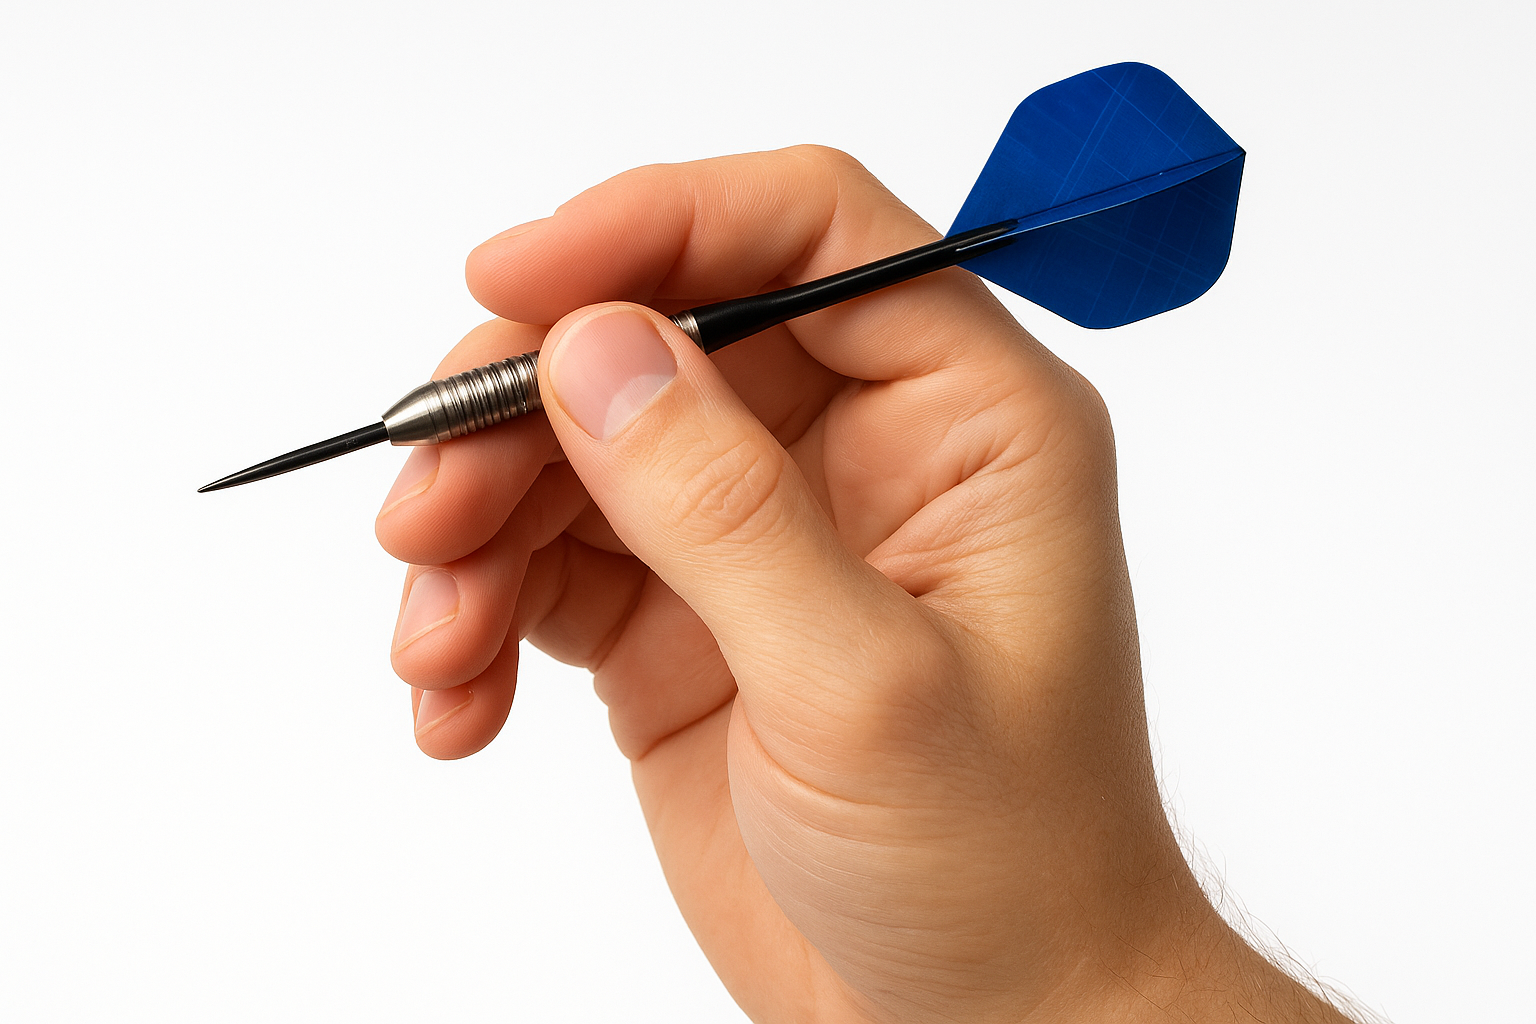
Keep your fingertips in contact with the barrel rather than gripping with the pads of your fingers. Fingertip contact gives you a more precise, controlled release because your fingers move away from the dart in a clean, natural line rather than peeling back across the shaft on the way through.
Step 2. Set pressure, angle, and a clean release
Once your fingers are in position, the next thing you need to get right is how much pressure you apply and the angle at which you hold the dart before you throw. These two factors work alongside your finger placement to determine whether your release is clean or not. Getting them wrong will cause inconsistency even if your grip shape is perfectly formed.
How tight should you actually grip the dart
Grip pressure is one of the most common areas where players go wrong. Squeezing the barrel too hard tightens the muscles in your hand and forearm, which makes a smooth release almost impossible. You want enough pressure to prevent the dart slipping during your draw back, but not so much that your knuckles whiten or your fingers feel locked in place.
A useful test: if you can feel your forearm muscles tense when you grip the dart, you're holding on too tight.
A relaxed, firm grip is the goal. Think of how you'd hold a pen when signing your name: controlled, not clenched. Your fingers should feel engaged but free to open during the release. The dart should feel secure, not trapped.
The angle of the dart before you throw
The dart's angle in your hand directly influences its flight path. Most players point the tip slightly upward before the throw, somewhere between 15 and 45 degrees above horizontal. This angle means the dart is already aligned with the arc it will travel through in the air, which makes for a more natural and consistent release point every time.
Experiment with your own angle by throwing at the bullseye from close range first. If the dart consistently drops low, try raising the tip slightly. If it flies high and stalls, bring the tip down a fraction.
How to release without snagging
Understanding how to hold a dart correctly also means thinking about how you let it go. Your fingers should extend forward naturally as your arm straightens, pointing toward the target after the dart has left your hand. Keep your wrist firm but not rigid during the release, and make sure your ring and little fingers stay tucked away so they don't catch the shaft or flight as the dart travels forward.
Step 3. Choose your grip point on the barrel
Where you hold the barrel along its length is just as important as which fingers you use. The grip point changes how the dart balances in your hand, how it sits during your draw, and the angle at which it leaves your fingers. Shifting your hold forward or backward by just a few millimetres can make a noticeable difference to both accuracy and comfort, yet most players never experiment with this consciously.
Front, middle, or rear: what each grip point does
Holding toward the front of the barrel, just behind the tip, shifts the dart's weight forward in your hand. This naturally tilts the point downward during your hold, which helps if your darts tend to fly high or if you prefer a flatter release arc. A mid-barrel grip is the most common starting point and works across a wide range of throwing styles, distributing balance evenly between the tip and the flight.
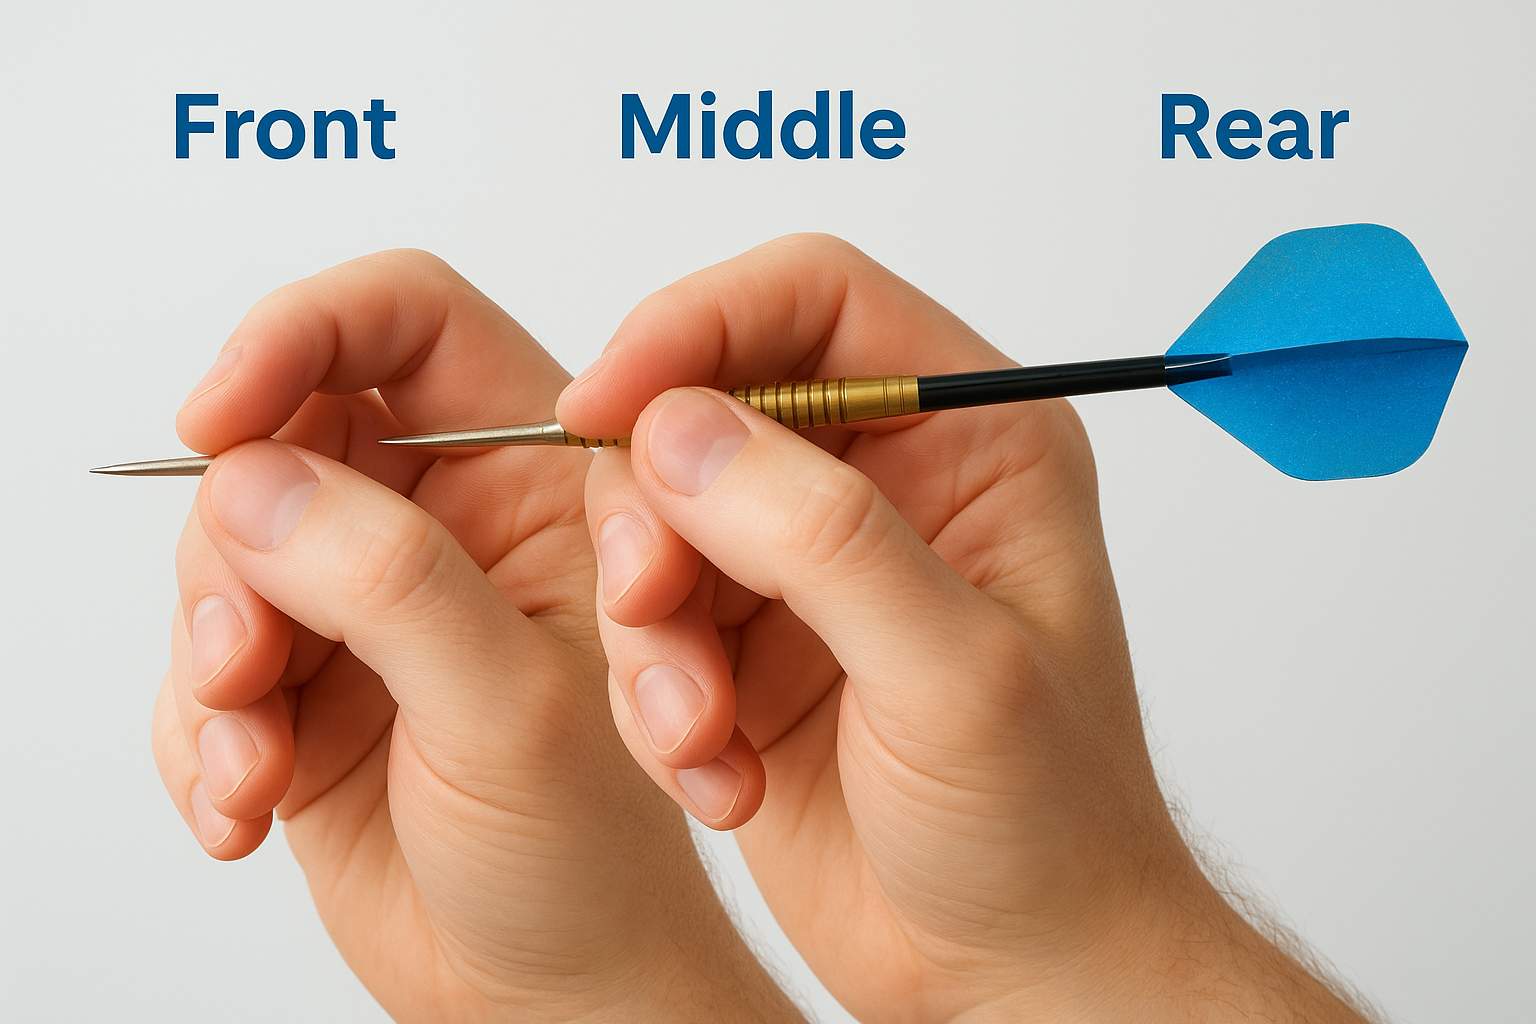
Gripping too far back toward the shaft puts stress on your fingertips and makes a clean release harder to achieve consistently.
Holding near the rear of the barrel, closer to where it meets the shaft, suits players who throw with a higher arc and want the tip naturally pointing upward before release. This position tends to work best with longer barrels where there's enough surface area behind the centre point to place a proper hold.
| Grip Position | Where on the Barrel | Effect on Flight |
|---|---|---|
| Front | Behind the tip | Flattens the dart's angle, lowers trajectory |
| Middle | Centre of barrel | Balanced, suits most styles |
| Rear | Near the shaft | Raises tip angle, suits high-arc throws |
How barrel texture and shape guide your position
Knurling, rings, and grooves on the barrel are not just decorative. They give your fingers a natural resting point with friction so the dart doesn't slip during the throw. When you're working out how to hold a dart correctly, let the barrel's texture guide you. Your fingers will naturally settle into the grip rings or ridged section, which often sits at or near the ideal balance point for that specific barrel.
Run your fingertips slowly along the barrel before you throw and let them stop where they feel most secure. That position is your starting grip point. From there, make small adjustments based on how the dart actually flies, rather than forcing your hand into a position copied from someone else.
Step 4. Practise for consistency and fix mistakes
Knowing how to hold a dart correctly is only half the work. Turning that knowledge into a reliable habit requires deliberate practice, not just throwing at the board for hours. Repetition without focus reinforces bad habits as easily as good ones, so the way you practise matters as much as the time you put in.
Build muscle memory with deliberate repetition
Pick up your dart and place your fingers in your chosen position before every single throw, without exception. Do not simply grab the barrel and throw - make the act of setting your grip a conscious step, every time, until it stops feeling deliberate and becomes automatic. Start close to the board, around half the regulation distance, and throw slowly with full attention on your finger placement, pressure, and release. Only move back to the oche once the grip feels natural at close range.
Ten focused throws at close range build better muscle memory than fifty rushed throws from regulation distance.
A useful drill is to throw three darts, walk to the board and back, then reset your grip from scratch before the next set. This stops you from developing a lazy, mid-session grip that drifts from your intended position without you noticing.
Common grip mistakes and how to correct them
Even with a clear technique, certain problems come up repeatedly for players at every level. Identifying them early saves a lot of frustration. Check yourself against this list if your accuracy has plateaued or your darts are landing inconsistently.
| Mistake | What Causes It | How to Fix It |
|---|---|---|
| Dart wobbles in flight | Fingers tensing on release | Reduce grip pressure and let fingers extend forward naturally |
| Darts grouping left or right | Index finger guiding off-centre | Realign finger along the top of the barrel, not the side |
| Inconsistent landing height | Grip position shifting between throws | Mark your barrel with tape to anchor finger placement |
| Fingers catching the shaft | Ring or little finger not tucked away | Consciously curl spare fingers under during each throw |
Work through one correction at a time rather than trying to fix everything in a single session. Change one variable, throw twenty darts, and assess the result before moving to the next adjustment.
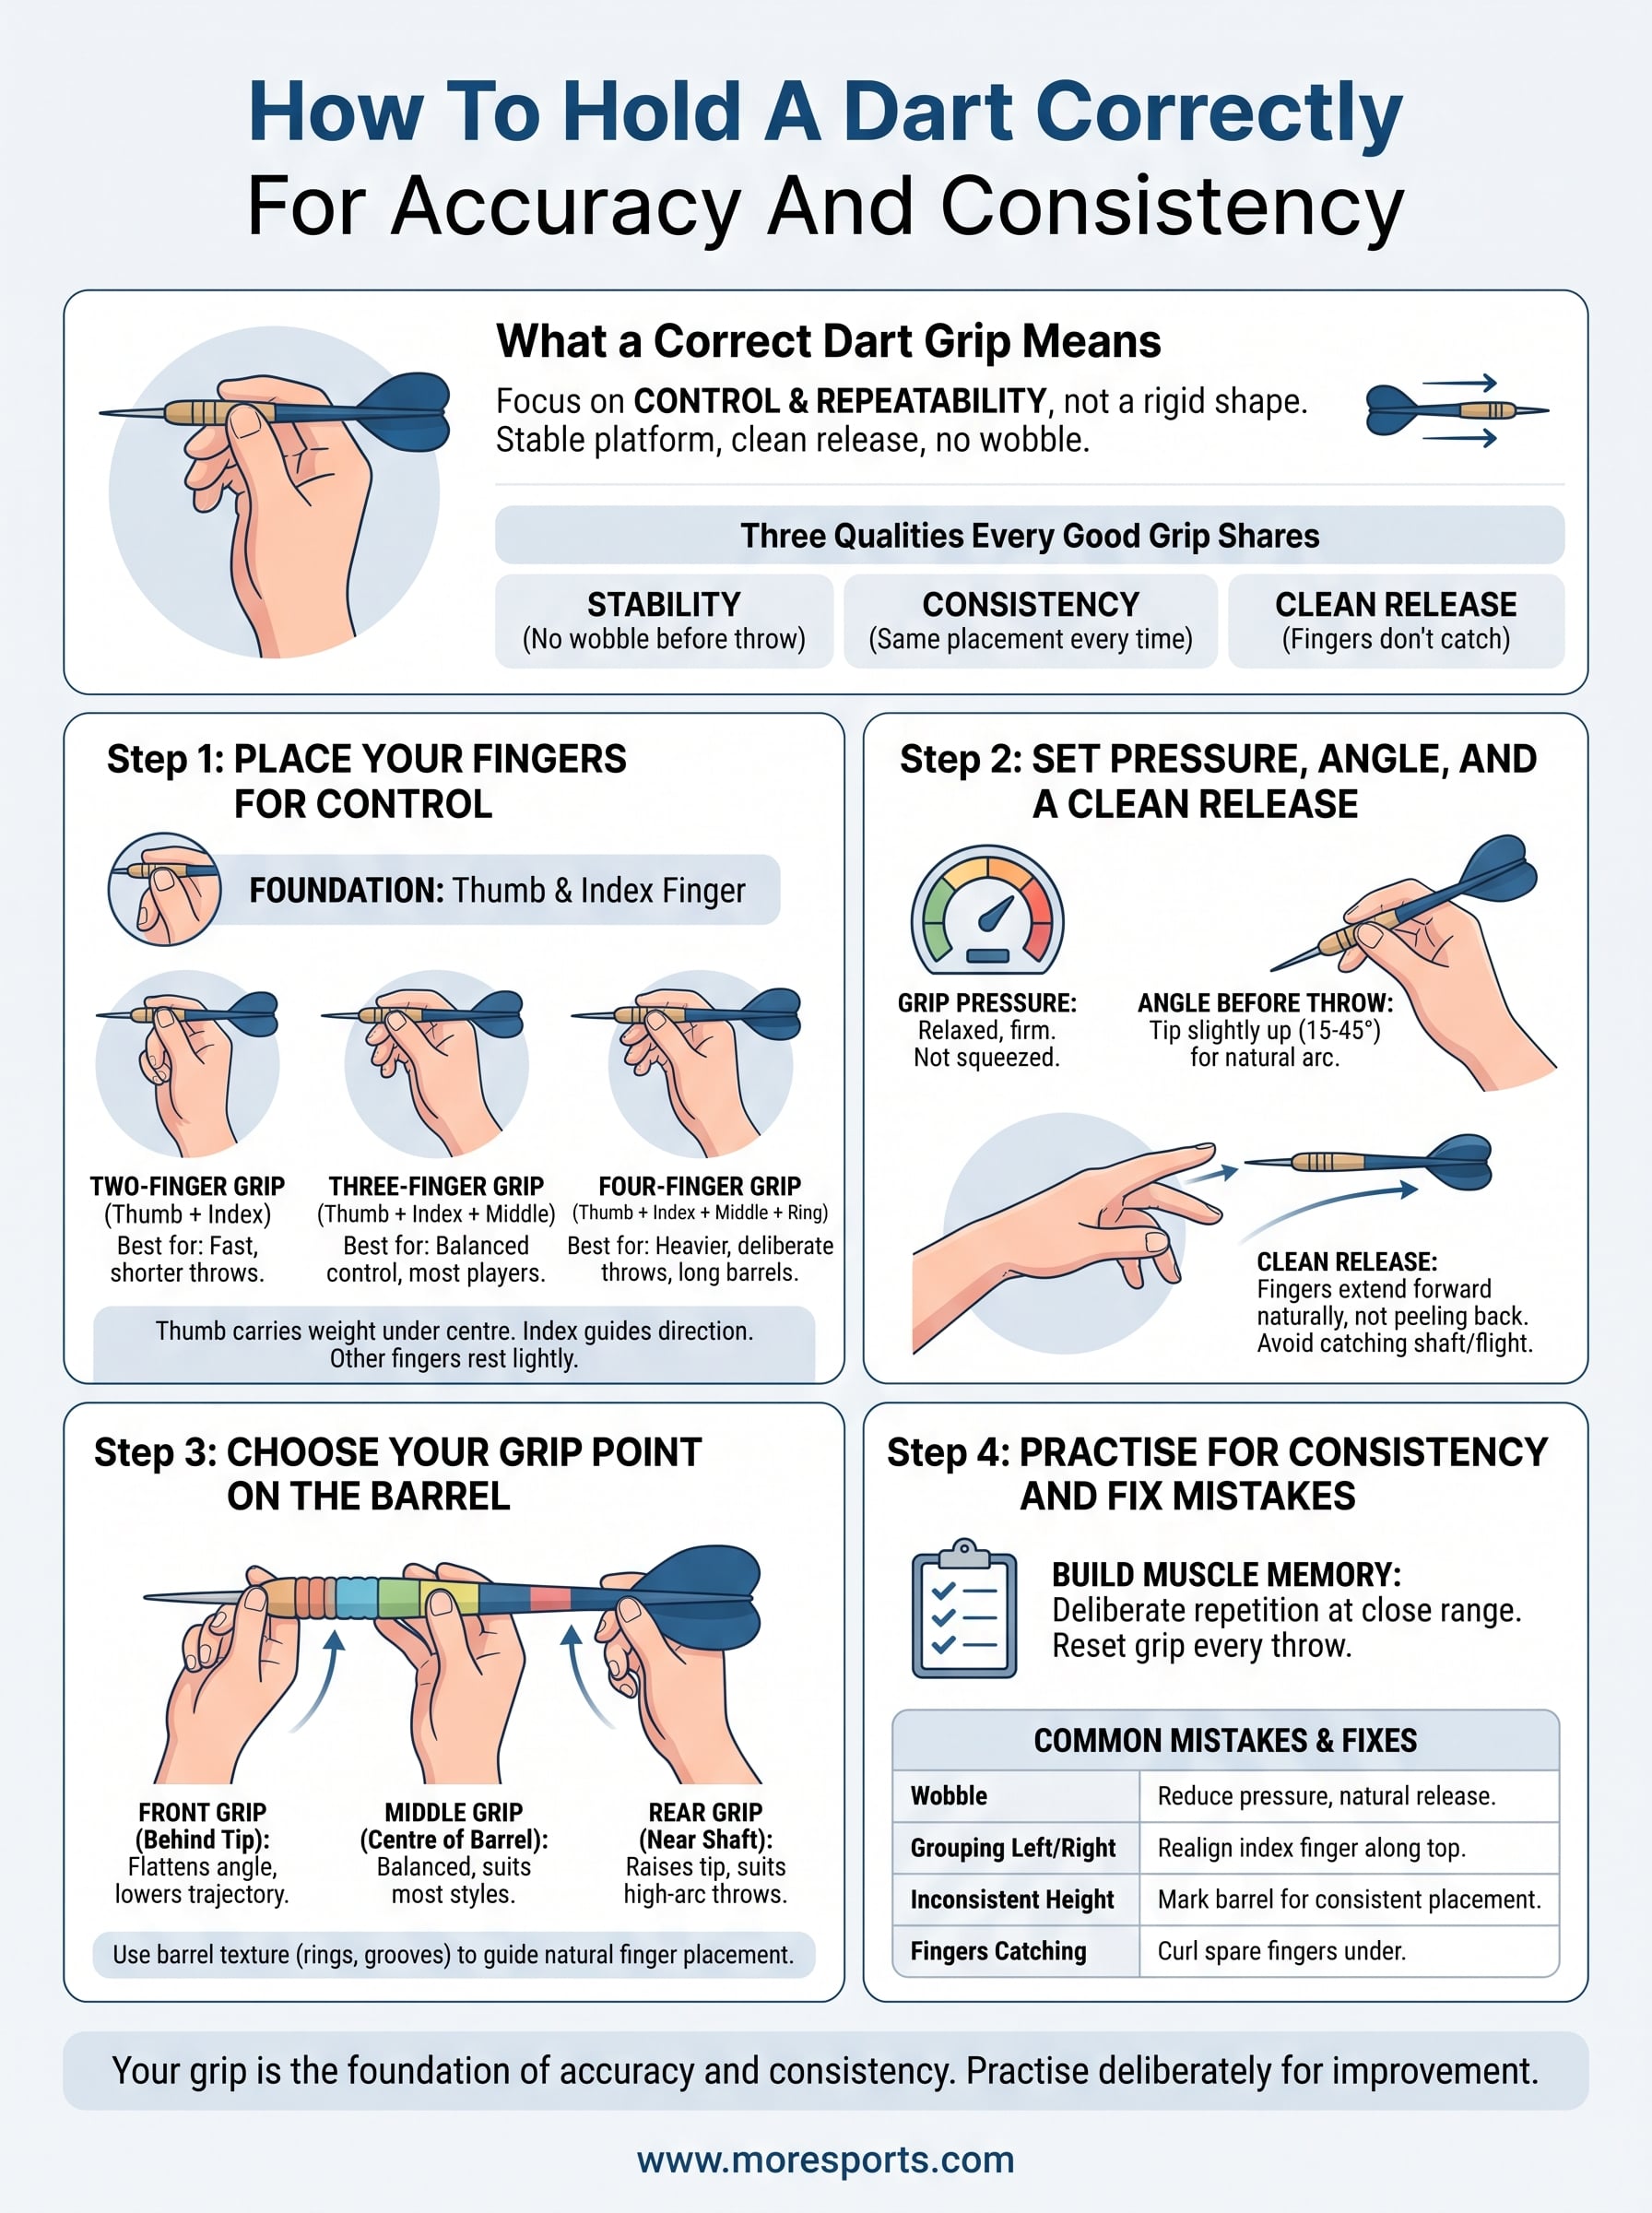
Take Your Next Throws Seriously
Your grip is the foundation of everything else in darts. Understanding how to hold a dart correctly gives you a repeatable platform to build accuracy, fix consistency issues, and throw with genuine confidence rather than guesswork. Every element covered in this guide, from finger placement and grip pressure to your barrel position and release, connects directly to how your darts land on the board.
Start with one change at a time. Pick your grip type, find your natural barrel position, and practise deliberately until that hold feels automatic. Chasing small improvements across each session adds up quickly, and you will notice the difference in your groupings far sooner than you expect.
Good technique pairs best with quality equipment that fits your style. Browse the full range of darts, barrels, and accessories at MoreSports to find the gear that suits your grip and helps you throw at your best.